Welcome to the world of DIY fun, where creativity knows no bounds! As parents, we’re always seeking new and exciting ways to engage our children in creative play. What better way to spark their imagination than by making playdough and slime at home? These DIY activities aren’t just a source of endless fun; they are gateways to learning and development. This blog post is dedicated to sharing simple, kid-friendly recipes for playdough and slime that guarantee hours of safe, sensory play. We’ll also dive into creative customizations, ensuring that your little ones can personalize their creations. So, grab your aprons, and let’s get ready to mix up some playful magic!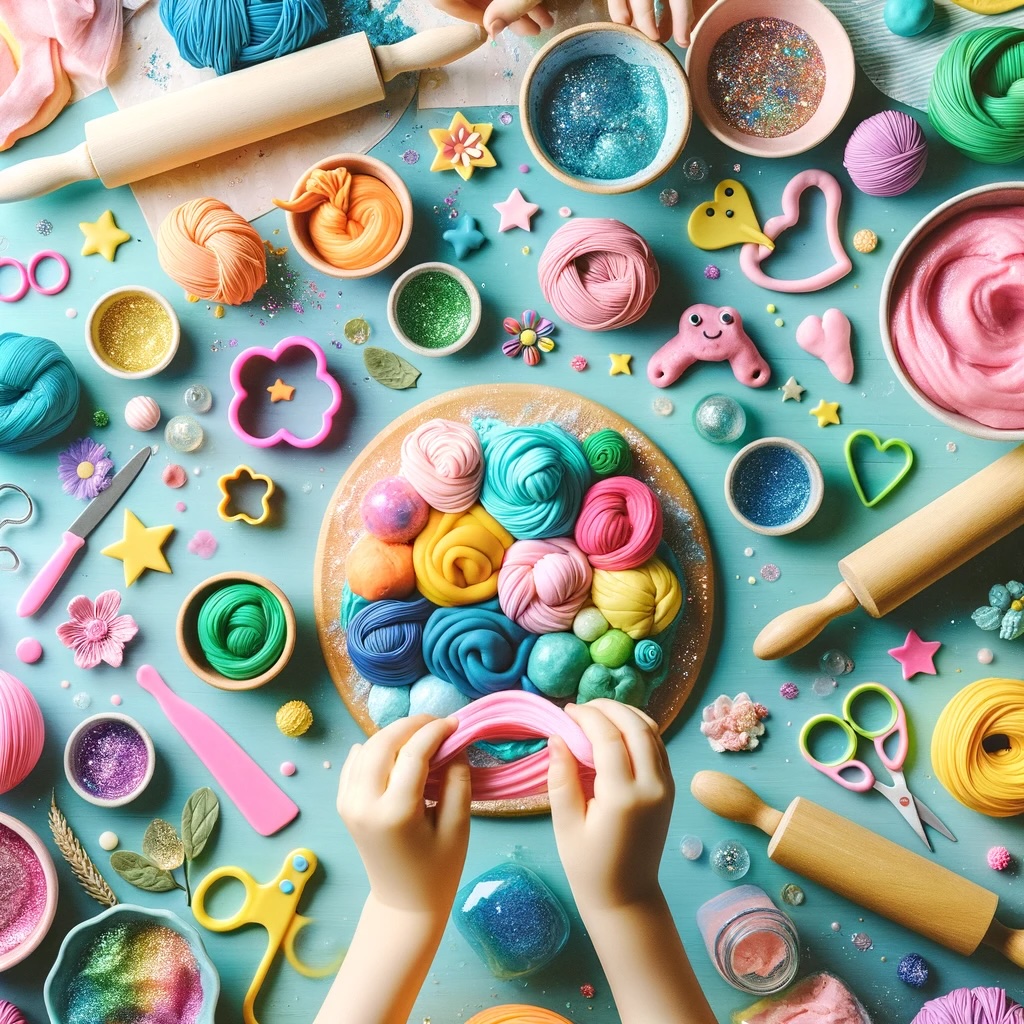
Why DIY with Your Kids?
Engaging in DIY activities like making playdough and slime isn’t just about the end product; it’s about the process and the multitude of benefits it brings. When parents and children create together, it opens a world of learning opportunities. Here’s why it’s a great idea:
- Boosts Creativity: DIY crafts encourage kids to use their imagination, helping them develop creative thinking skills.
- Enhances Fine Motor Skills: Mixing, kneading, and shaping the dough strengthens little hands and fingers, crucial for writing and other daily tasks.
- Promotes Understanding of Science: Making playdough and slime introduces basic chemistry in a fun and approachable way.
- Quality Bonding Time: Crafting together fosters a stronger bond between parent and child, creating lasting memories.
- Customization and Control: By making your own, you control the ingredients, ensuring they are safe and non-toxic for your little ones.
Non-Toxic Playdough Recipe
Making your own playdough is not only fun but also ensures that your children play with a non-toxic, safe product. Here’s a simple recipe that you can whip up in no time:
Ingredients:
- 1 cup flour
- 1/4 cup salt
- 3/4 cup water
- 2 tablespoons cream of tartar
- 1 tablespoon vegetable oil
- Food coloring (optional)
Instructions:
- Mix flour, salt, and cream of tartar in a mixing bowl.
- Add water and oil to the dry ingredients and stir until a dough starts to form.
- Divide the dough into balls, and add a few drops of food coloring to each.
- Knead each ball until the color is evenly distributed.
- Cook each ball over medium heat in a non-stick pan for about 3-5 minutes, constantly stirring until the dough thickens and begins to form into a ball.
- Remove from heat and let it cool. Once cool, knead the dough for a few minutes until it’s soft and smooth.
Color Customizations:
- Experiment with different food colorings to create a vibrant range of playdough.
- For a natural alternative, use turmeric for yellow, beet juice for red, and spinach juice for green.
Kid-Friendly Slime Recipe
Slime is a fascinating substance that kids love to play with. Making slime at home is surprisingly easy and ensures that your kids are playing with a safe and non-toxic substance. Here’s a basic recipe for making kid-friendly slime:
Ingredients:
- 1/2 cup non-toxic PVA glue (white or clear)
- 1/2 teaspoon baking soda
- 1-2 tablespoons contact lens solution (must contain boric acid)
- Food coloring (optional)
Instructions:
- Pour the PVA glue into a bowl.
- Add food coloring if desired and mix until the color is uniform.
- Stir in the baking soda thoroughly.
- Gradually add the contact lens solution, mixing continuously. The slime will begin to form and pull away from the sides of the bowl.
- Once the slime is less sticky, knead it with your hands until it reaches the desired consistency.
Texture and Color Ideas:
- Add glitter, foam beads, or even small plastic toys to create interesting textures.
- Mix different food colors to create unique shades.
- For a sensory twist, add a few drops of essential oils like lavender or citrus for a pleasant scent.
Creative Customizations
One of the joys of DIY playdough and slime is the endless possibilities for customization. These creative additions not only make the experience more enjoyable but also offer additional sensory experiences for your child. Here are some ideas to inspire your and your child’s creativity:
- Glitter Galore: Add different types of glitter to your slime or playdough for a sparkling effect. From fine to chunky glitter, the choices are endless and can completely transform your creation.
- Natural Dyes: If you prefer natural alternatives, consider using spices like turmeric for yellow, beetroot powder for red, or spirulina for green to color your playdough.
- Texture Play: Introduce various textures by incorporating items like rice, lentils, or small beads into playdough. For slime, try adding foam beads, sequins, or even small plastic figures for a surprise element.
- Aromatic Adventures: Make your playdough or slime smell delightful by adding a few drops of child-safe essential oils like lavender, orange, or peppermint. This not only adds a pleasant aroma but can also have a calming effect on children.
- Seasonal Themes: Tailor your playdough and slime to seasons or holidays. Use orange and black for Halloween-themed playdough or red and green for festive Christmas slime.
Play Ideas and Storage Tips
Once you’ve created your DIY playdough and slime, the fun truly begins. Here are some play ideas to spark imagination and tips on how to store these creations to keep them fresh for longer.
Play Ideas:
- Imaginative Shapes: Use cookie cutters to make various shapes with playdough or create slime bubbles with straws.
- Learning Tools: Playdough can be an excellent tool for learning letters, numbers, and even simple math.
- Slime Stretching: Challenge your kids to see how far they can stretch their slime. This can be a fun and giggly exercise.
- Nature Impressions: Press leaves, flowers, or shells into playdough to create beautiful natural patterns.
- Mix and Match: Encourage your children to mix different colors of playdough or slime to discover new colors and effects.
Storage Tips:
- Airtight Containers: Store playdough and slime in airtight containers to prevent them from drying out.
- Cool and Dry Place: Keep these containers in a cool, dry place away from direct sunlight.
- Refrigeration for Playdough: If you’ve made a large batch, refrigerating playdough can prolong its life.
- Checking Regularly: Regularly check the playdough and slime for signs of spoilage, especially if they’ve been made with natural ingredients.
Conclusion
In conclusion, making DIY playdough and slime is not just an activity; it’s an opportunity for learning, creativity, and bonding with your children. These simple, safe recipes provide a foundation for endless fun and exploration. By customizing colors, scents, and textures, each creation becomes a unique expression of your child’s imagination. We encourage you to set aside time to enjoy these activities together. Share your experiences, laugh, and create memories that will last a lifetime. Don’t forget to capture these moments and maybe even share your creations with us. Happy crafting!